A Step-by-Step Guide to Building Your Commercial Kitchen
Building a commercial kitchen is one of the most significant investments a food business owner will ever make. It is far more than just buying a big stove; it is about engineering a high-performance workspace that meets strict legal codes while maximizing every second of your staff’s time.
At Wilprep, we’ve seen kitchens of all sizes—from compact food trucks to massive hotel lines. Here is the professional roadmap to building a kitchen that works as hard as you do.
Step 1: Define Your Concept and Menu
Your menu dictates your equipment. If you’re running a wood-fired pizzeria, your needs are vastly different from a vegan juice bar.
-
The “Menu-First” Rule: List every item on your menu and the equipment needed to create it.
-
Volume Matters: Are you seating 20 people or 200? This determines the capacity of your commercial refrigerator and the size of your range.
2. Design the Layout (The “Flow”)
A poorly designed kitchen leads to “collisions” between staff and slower ticket times. Most pros use one of three layouts:
-
The Assembly Line: Best for high-volume, repetitive menus (like sandwich shops or pizza parlors).
-
The Zone Style: Dividing the kitchen into blocks (prep, cooking, refrigeration, sanitation).
-
The Island: A central cooking block with prep and storage on the perimeter—perfect for large, open kitchens with lots of communication.
3. Infrastructure: The “Invisible” Essentials
Before the shiny appliances arrive, the bones of the kitchen must be perfect.
-
Ventilation & Hoods: This is often the most expensive part of the build. Your HVAC and hood system must be powerful enough to exchange the air and meet fire safety codes.
-
Flooring & Walls: Use non-slip, non-porous materials like quarry tile or epoxy flooring. Walls should be stainless steel or FRP (fiber-reinforced plastic) for easy spray-down cleaning.
-
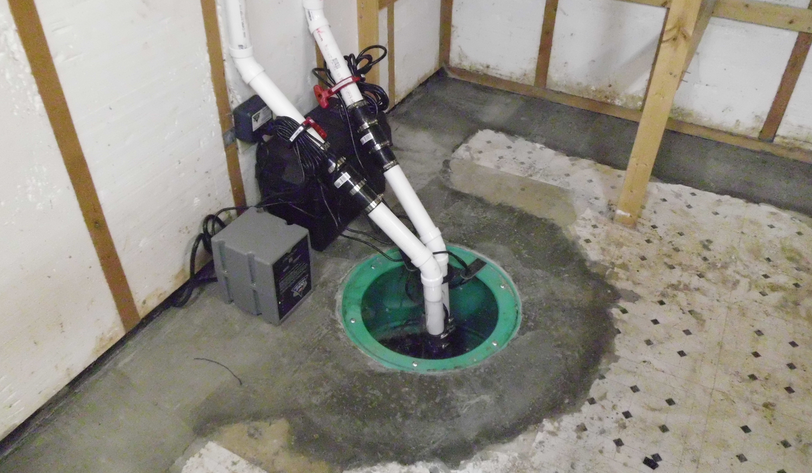
Plumbing & Grease Traps: You will need dedicated lines for handwashing, dishwashing, and food prep, plus a grease trap to prevent kitchen fat from clogging the city sewers.
4. Selecting the Right Equipment
This is where you balance your budget with your long-term goals.
-
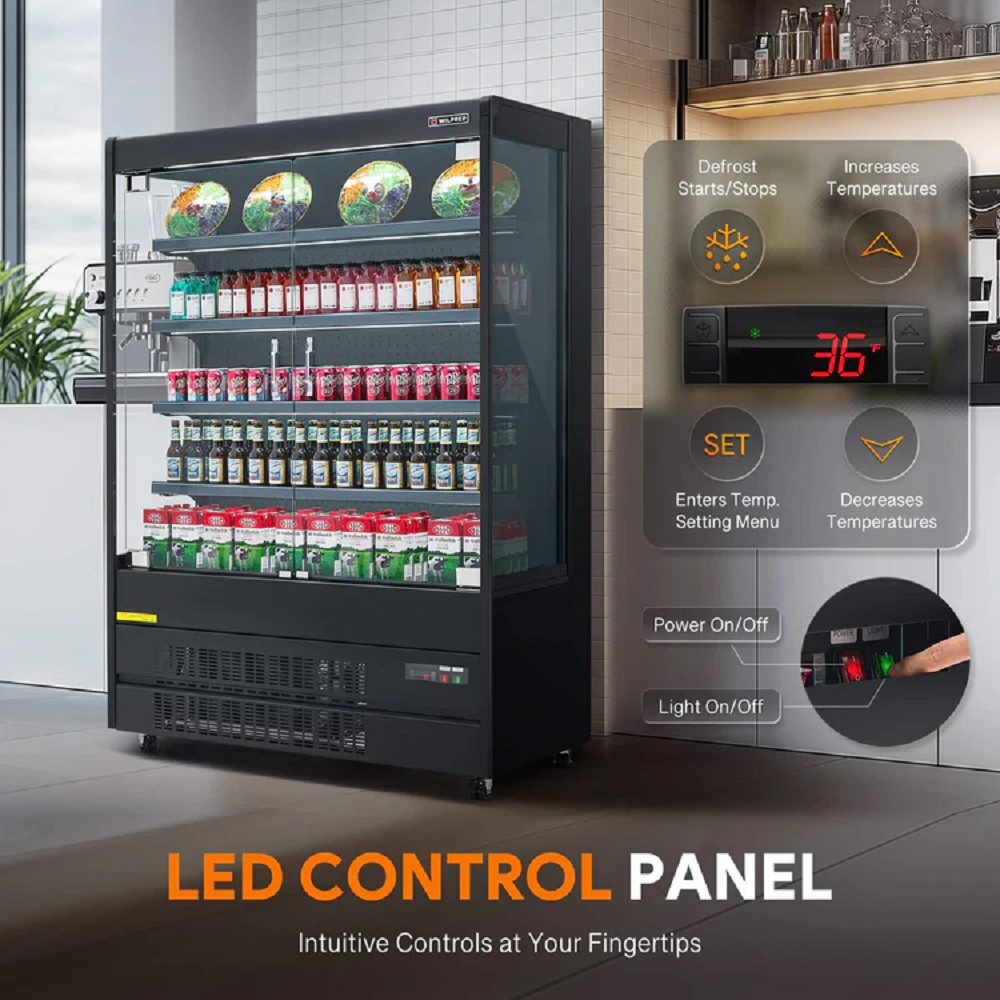
Refrigeration: Look for units like Wilprep reach-ins that offer stainless steel durability and reliable compressors (like Embraco). Position them near your prep stations to minimize walking.
-
The Hot Line: Choose ranges, fryers, and ovens that are “standard” sizes to make future repairs or replacements easier.
-
Storage: Don’t forget dry storage! Use NSF-certified shelving that sits at least 6 inches off the floor to meet health department standards.
5. Compliance and Inspections
You cannot open your doors until the experts sign off. You will typically need approvals from:
-
The Health Department: To ensure food safety and sanitation.
-
The Fire Marshal: To test your fire suppression (Ansul) system.
-
Building & Safety: For electrical and plumbing integrity.
The Secret Ingredient: Ergonomics
The best kitchens are built with the human element in mind. Ensure your prep tables are at the correct height to prevent back strain and that your most-used ingredients are within “pivot” distance. When your staff is comfortable, your food is better.